
Wall decor sets the tone for any room, but hiring a designer or buying pre-made pieces can drain a budget fast. The good news? Homeowners can create stunning, personalized wall décor with basic tools and materials. From fresh paint to floating shelves and fabric hangings, DIY wall decor projects range from quick weekend tasks to more involved undertakings. This guide covers seven practical projects that deliver real visual impact without requiring contractor skills. Each approach offers flexibility, whether someone prefers bold statement walls, organized storage solutions, or layered artistic textures. Let’s walk through what works, what tools are needed, and where shortcuts end and prep work matters.
Key Takeaways
- Wall decor DIY projects—from accent walls to floating shelves—deliver professional visual impact without hiring a designer or breaking your budget.
- Proper preparation is essential: patch holes, sand surfaces, use painter’s tape, and always locate studs before installing floating shelves or heavy wall art.
- Floating shelves require anchoring into wall studs with 3-inch screws into studs and heavy-duty brackets rated for at least 25 pounds per shelf to prevent sagging.
- Fabric hangings, tapestries, and Command adhesive strips offer renter-friendly wall decor options that are removable and require no permanent installation.
- Gallery walls, stencil painting, and peel-and-stick decals provide customizable, affordable alternatives that allow you to refresh your space without long-term commitment.
- Start with simpler projects like picture frames or fabric art to build confidence before attempting complex murals or geometric wood installations.
Painted Accent Walls and Mural Art
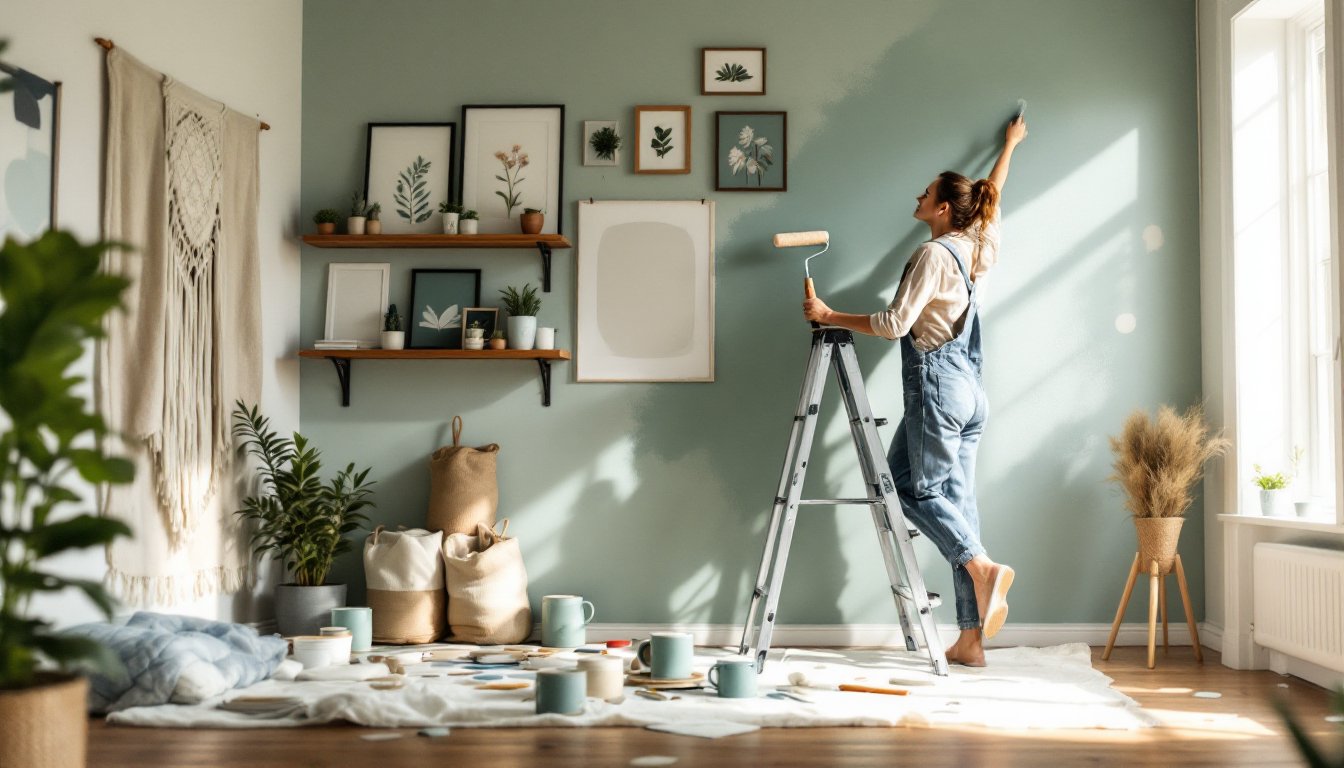
A fresh coat of paint is one of the fastest and most affordable wall transformations. Accent walls, typically one wall in a darker or bolder color, add drama without overwhelming a space. Before any paint touches the wall, preparation is crucial. Patch holes with spackling compound, sand smooth once dry, and wipe away dust with a damp cloth. Mask edges with painter’s tape, pressing firmly so paint doesn’t bleed underneath.
For a standard 8-by-10-foot wall, one gallon of quality paint covers roughly 350 square feet, so a gallon usually suffices for one accent wall. Roll on primer first, this improves coverage and paint adhesion, especially on previously painted or dark surfaces. Use a roller frame with a medium-nap cover (3/8-inch nap works for most drywall) and cut in edges with a brush before rolling the field.
Mural art requires more skill but delivers dramatic results. Simple geometric patterns, triangles, stripes, or color-blocking, are achievable with painter’s tape and multiple paint colors. For complex murals, project a reference image onto the wall using a projector, lightly sketch the outline in pencil, then paint sections. This approach removes guesswork and saves hours. Always use interior-grade paint rated for walls (not ceiling paint) and ensure good ventilation while working.
Floating Shelves and Geometric Wall Storage
Floating shelves add both storage and visual interest while maintaining a clean, uncluttered look. These shelves appear to hang without visible brackets, relying on French cleats or concealed bracket systems installed into wall studs. Locating studs is non-negotiable, use a stud finder to mark their location. Standard studs in walls are 16 inches on center.
For a basic floating shelf, anchor heavy-duty brackets (rated for at least 25 pounds per shelf) directly into wall studs using 3-inch wood screws. A 24-inch shelf supporting books or décor typically needs two brackets: longer shelves need three. Pre-drill screw holes to prevent splitting, especially in hardwood or pre-finished lumber.
Custom geometric shelves, hexagons, diamonds, or abstract shapes, require basic carpentry. Cut shelves from 1-inch plywood or solid wood, sand edges smooth, seal or paint as desired, and mount using the same bracket-and-stud method. The key is accurate measurements and level installation: an out-of-level shelf looks worse than no shelf.
Note: Floating shelves in drywall without stud backing sag and eventually fail. A second pair of hands helps during installation. If studs don’t align with the desired location, consider anchors rated for drywall (though these carry lower weight limits, typically 15–20 pounds per anchor). For heavier loads or valuable items, professional installation is worth the cost.
Fabric Wall Hangings and Tapestries
Fabric wall hangings add texture, color, and a bohemian touch without permanent installation. Tapestries work in any room, bedrooms, living areas, even offices, and are removable, making them renter-friendly. Mounting options include adhesive strips, small nails, or a tension rod system for heavier fabrics.
Command adhesive strips hold lightweight fabrics (under 5 pounds) and leave no holes, making them ideal for renters. For heavier tapestries or canvas hangings, small finishing nails (1-1.5 inches) driven into drywall work well: a single nail per corner usually suffices if the weight is moderate. Use a level to ensure the hanging is square.
DIYers can also create custom fabric art. Stretch cotton, linen, or canvas fabric over a wooden frame (built from 1-by-2 lumber or purchased pre-made), stapling the fabric taut to the back using a staple gun. Sand and stain or paint the frame, then hang as a finished piece. This approach is perfect for displaying patterned fabrics, nature prints, or abstract designs at a fraction of gallery-art prices.
Fabric condition matters, wrinkled hangings look careless. Steam or iron before installing, and choose durable, fade-resistant fabrics if the wall receives direct sunlight. Linen and high-quality cotton hold color better than cheap polyester blends over time.
Picture Frames and Gallery Wall Arrangements
Gallery walls display personality and fill large blank spaces effectively. The trick is planning the layout before driving nails. Lay all frames on the floor in the desired arrangement, photograph the setup, then measure distances and transfer the layout to the wall using a level and pencil marks.
For consistent spacing, use painter’s tape or kraft paper cutouts of each frame size as templates. Mark the nail holes through the tape, then remove it before installing nails. This method takes extra time upfront but prevents costly mistakes.
Choose picture-hanging hardware rated for the combined weight of frame and artwork. Small 1.5-inch nails work for lightweight prints under 5 pounds per frame: heavier pieces require anchors or larger nails. Space nails about 60 degrees from horizontal (slightly angled downward) for better holding power.
Mix frame styles, mats, and artwork sizes for visual interest, but maintain consistent spacing, typically 2–3 inches between frames. Odd-numbered groups (three, five, seven frames) create pleasing asymmetry. Include family photos, prints, maps, or mixed media, there’s no single “correct” approach. The goal is a cohesive, layered look that reflects the room’s style. A gallery wall on an accent wall or behind furniture anchors a room without overwhelming it.
Wood and Macramé Wall Art
Wood wall art brings warmth and texture to modern, rustic, or eclectic spaces. Reclaimed wood, shiplap, or geometric wood pieces create focal points affordably. A simple approach is mounting thin wood planks or pallet boards horizontally or in herringbone patterns using construction adhesive and small nails or screws into studs for security.
Geometric wood art, hexagons, triangles, or abstract shapes, requires a bit more skill. Cut pieces from 1/2-inch plywood, sand edges, stain or paint, and arrange in clusters on the wall. Secure each piece with two-part epoxy or heavy-duty adhesive designed for wood-to-drywall bonding, reinforced with a concealed nail or screw through the back edge into a stud if possible.
Macramé wall hangings are experiencing a well-deserved revival. Store-bought macramé is affordable, but DIYers can learn basic knotting techniques, square knots, half hitches, and spiral knots, using cotton or jute rope in various thicknesses. A basic wall hanging requires minimal tools: rope, scissors, a dowel or branch for the top, and an afternoon of knotting. YouTube tutorials make learning approachable.
Combining wood and macramé (a wooden frame with macramé inside) creates eye-catching focal art. These projects cost $15–40 in materials and transform plain walls into conversation starters. Allow stain or paint to fully cure before mounting, typically 24 hours for most finishes.
Removable Peel-and-Stick Decals and Stencils
Peel-and-stick wall decals and stencils offer instant decor without commitment, making them perfect for renters, nurseries, or frequent redecorators. Decals come pre-designed (quotes, plants, geometric shapes) and require only a clean, smooth wall surface for reliable adhesion. Dust the wall lightly with a dry cloth before applying, any residue prevents proper sticking.
Applying decals correctly ensures they stay put. Peel the decal slowly and smooth it onto the wall from top to bottom, pressing out air bubbles with a plastic squeegee or credit card. Most quality decals last 1–2 years before gradual lifting occurs, though factors like humidity and temperature fluctuations affect longevity. Avoid corners and high-moisture areas (like bathrooms) unless the decals are moisture-rated.
Stencil painting offers more customization. Secure a stencil with spray adhesive or painter’s tape, then apply paint using a stencil brush or sponge, tap lightly rather than brush back-and-forth to prevent seeping. Use interior paint or specialized stencil paint. Remove the stencil while paint is still slightly wet for clean edges.
Combining multiple stencil patterns creates mural-like effects. Stenciling a forest silhouette, geometric borders, or repetitive motifs takes patience but delivers professional-looking results on a small budget. Unlike permanent paint murals, stencil work can be refreshed or painted over with primer and new wall color if tastes change. Store stencils flat and clean them immediately after use to extend their life.
Conclusion
DIY wall decor transforms spaces affordably and allows homeowners to express personal style. Whether choosing bold accent paint, practical floating shelves, or layered fabric art, success comes from honest prep work, accurate measurements, and choosing methods matched to skill level. Start simple if new to DIY, a gallery wall or fabric hanging builds confidence before tackling mural art or shelving. Plan the layout, gather materials, and approach projects methodically. The reward isn’t just finished walls: it’s the satisfaction of creating something personal with your own hands.