
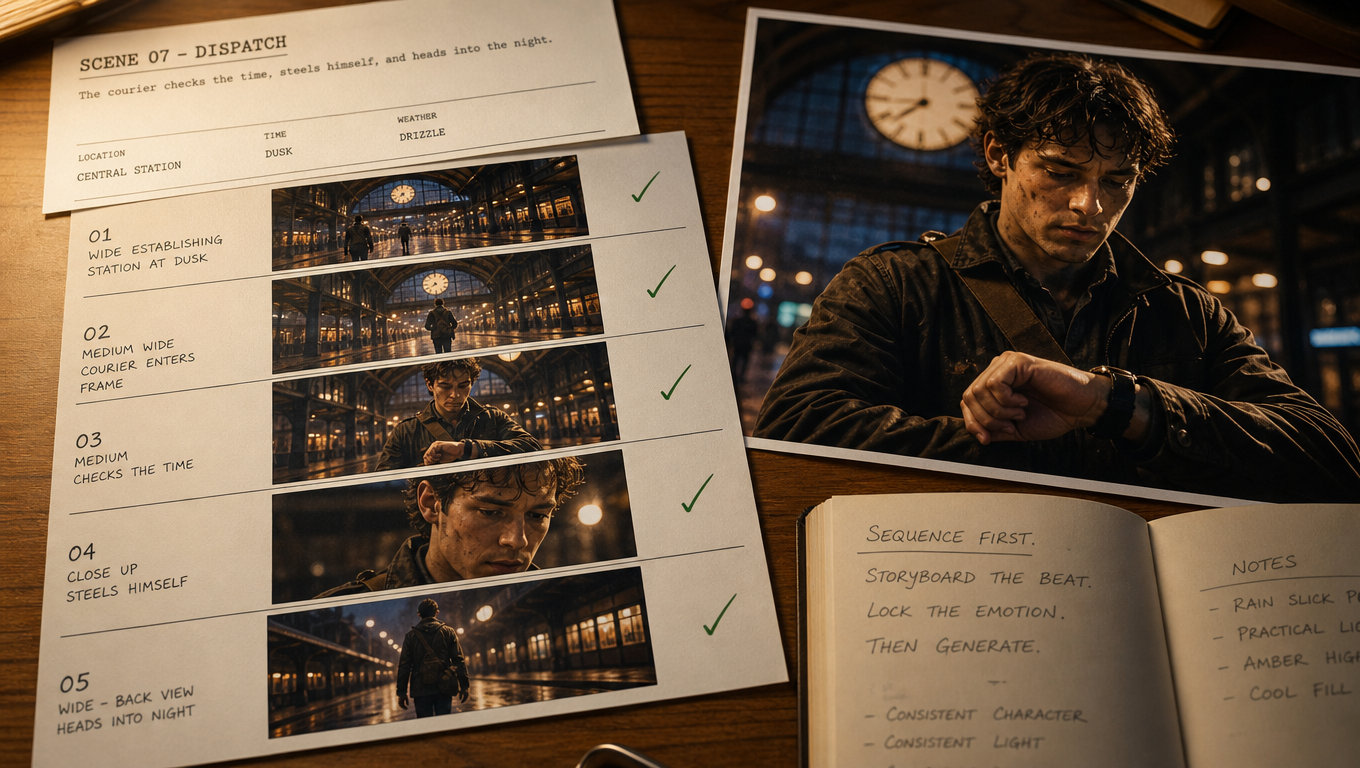
Most AI film attempts fail for the same reason: creators jump straight to video generation. The first clip looks cinematic. The second drifts. By shot five, the character, lighting, and camera language no longer belong to the same movie.
A more reliable path is sequence-first filmmaking. You lock story intent, approve storyboards, plan camera coverage, direct performance, and only then generate motion. This tutorial walks through that process for an AI film sequence you can actually edit together.
What You Will Build
By the end of this workflow, you should have:
- A clear scene objective
- Approved storyboard frames
- Camera notes for each beat
- Performance direction for the lead character
- Generated cinematic scenes ready for assembly
This is not a one-prompt film. It is a director-led sequence.
Step 1: Define the Scene Before You Generate Anything
Write a short scene card with four fields:
- Objective: What changes by the end of the scene?
- Location: Where are we, and what should the space feel like?
- Characters: Who is present, and what do they want?
- Emotional register: Calm, tense, intimate, triumphant, etc.
Example scene card:
A courier waits under a train station clock at dusk. She realizes the package is gone. The camera starts wide and ends on her face as the last train leaves.
If you cannot summarize the beat in a few lines, you are not ready for boards.
Step 2: Build Storyboards Before Motion
Generate still frames that cover the scene in shot order. Aim for coverage, not decoration:
- Establishing wide
- Medium two-shot or character entry
- Insert or detail
- Reaction / close-up
- Payoff frame
Approve boards on visual language first:
- Wardrobe and identity
- Location continuity
- Lighting direction
- Composition and negative space
An AI Canvas is useful here because boards, references, and later motion clips can live in one visual workspace. Keep rejected frames. They are useful for knowing what not to regenerate.
Step 3: Add Camera Planning to Every Beat
For each boarded frame, write a simple camera line:
- Shot size: wide / medium / close
- Angle: eye-level / low / high
- Move: static / push-in / pan / track
- Lens feel: wide / normal / telephoto
Example:
Beat 3 — close-up, eye-level, slow push-in, normal lens. Hold on the courier’s realization.
Camera planning prevents the most common AI film failure: every shot being “cinematic” in the same generic way.
Step 4: Direct Performance Separately From Spectacle
Before generating motion, define what the character is doing emotionally.
Use notes like:
- Energy: restrained / escalating / exhausted
- Eyes: searching / avoiding / locked
- Hands: still / fidgeting / gripping
- Timing: pause before the turn / quick exit / delayed reaction
Performance direction keeps dialogue and silent acting readable after the cut. Without it, models often invent motion that looks busy but says nothing.
Step 5: Generate Cinematic Scenes From the Approved Plan
Only now move from stills to motion. Generate one beat at a time from the approved board and camera notes.
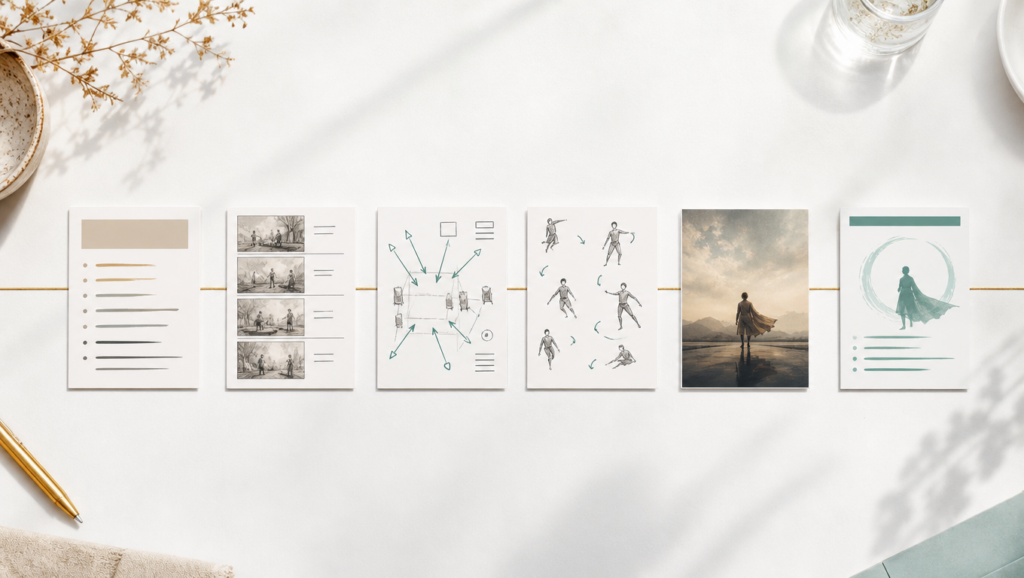
A connected AI Film Generator workflow is designed for this stage order: story development, storyboards, camera planning, performance direction, then cinematic scene generation — so you stay the director while AI creates the images and motion.
When a beat needs stronger cinematic motion after the plan is locked, route that shot through a high-quality engine such as Seedance 2.5. Do not use the strongest model as a substitute for boards and camera notes. Use it to execute an already-directed shot.
Step 6: Iterate Like a Set, Not Like a Chat Window
Review each generated beat against the board:
- Does identity still match?
- Does lighting still match the previous shot?
- Did the camera move follow the note?
- Did the performance land?
Then regenerate only the weak beat. Keep the strong ones. This is the difference between film production and prompt gambling.
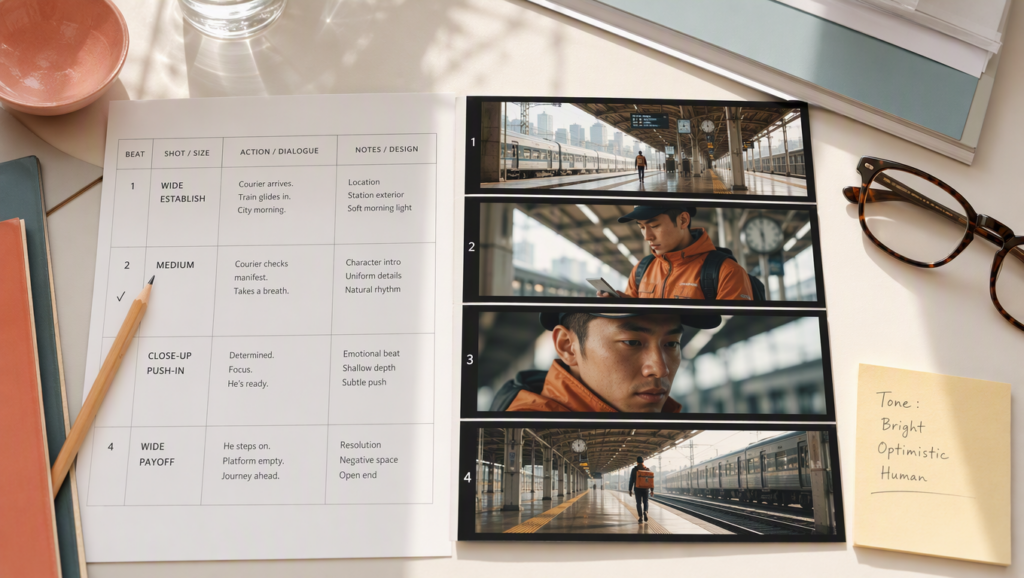
A Simple Shot Sheet You Can Reuse
|
Beat |
Board status |
Camera note |
Performance note |
Motion status |
|
1 Wide establish |
Approved |
Static wide, dusk |
Character enters frame late |
Pending |
|
2 Medium |
Approved |
Slow pan to clock |
Searching, contained |
Pending |
|
3 Close-up |
Approved |
Push-in |
Realization, stillness |
Pending |
|
4 Payoff |
Approved |
Hold, then drift away |
Empty platform energy |
Pending |
Fill the sheet before generation. Update status after each render.
Input Tips for Cleaner Continuity
- Lock character and location references before shot 1
- Keep wardrobe consistent across boards
- Match lighting direction from beat to beat
- Avoid changing lens language randomly inside one scene
- Prefer readable blocking over crowded action in early drafts
Common Mistakes
- Generating video before approving boards
- Writing “cinematic” with no shot size or camera move
- Changing character design mid-scene
- Regenerating the whole sequence when one beat fails
- Treating model choice as a replacement for direction
FAQ
Do I need a full screenplay first?
Not always. For a short sequence, a scene card plus boarded beats is enough. For multi-scene films, expand into a longer outline after one scene works.
Should every shot use the same model?
Not necessarily. Keep planning consistent, then choose generation strength per beat. Continuity comes from direction first, model second.
How many storyboard frames are enough?
For a short scene, 4 to 8 beats usually cover establish, develop, turn, and payoff. Add more only when coverage requires it.
When is the sequence ready to edit?
When each beat matches the approved board, camera note, and performance note closely enough that the cut feels intentional.
Final Checklist
- Scene objective is clear in one paragraph
- Storyboards are approved in order
- Every beat has a camera note
- Performance direction is written down
- Motion is generated beat by beat
- Only failed beats are regenerated
Bottom Line
An AI film sequence becomes editable when direction comes before generation. Board the scene, plan the camera, direct the performance, then create motion.
That order is what turns impressive clips into a film you can cut with confidence.