
Bedroom walls don’t need an expensive makeover to look polished and personal. Whether someone’s renting, saving cash, or just tired of blank drywall, DIY bedroom wall decor offers practical, removable solutions that make a real impact. The beauty of tackling wall projects yourself is control, choosing exactly what goes up, when, and how. These six approaches range from gallery walls to accent paint to floating shelves, covering cosmetic updates that don’t require permits or professional contractors. Most use standard tools found in any household, and several are completely renter-friendly. Let’s walk through the best budget-conscious options for giving bedroom walls character without maxing out a credit card.
Key Takeaways
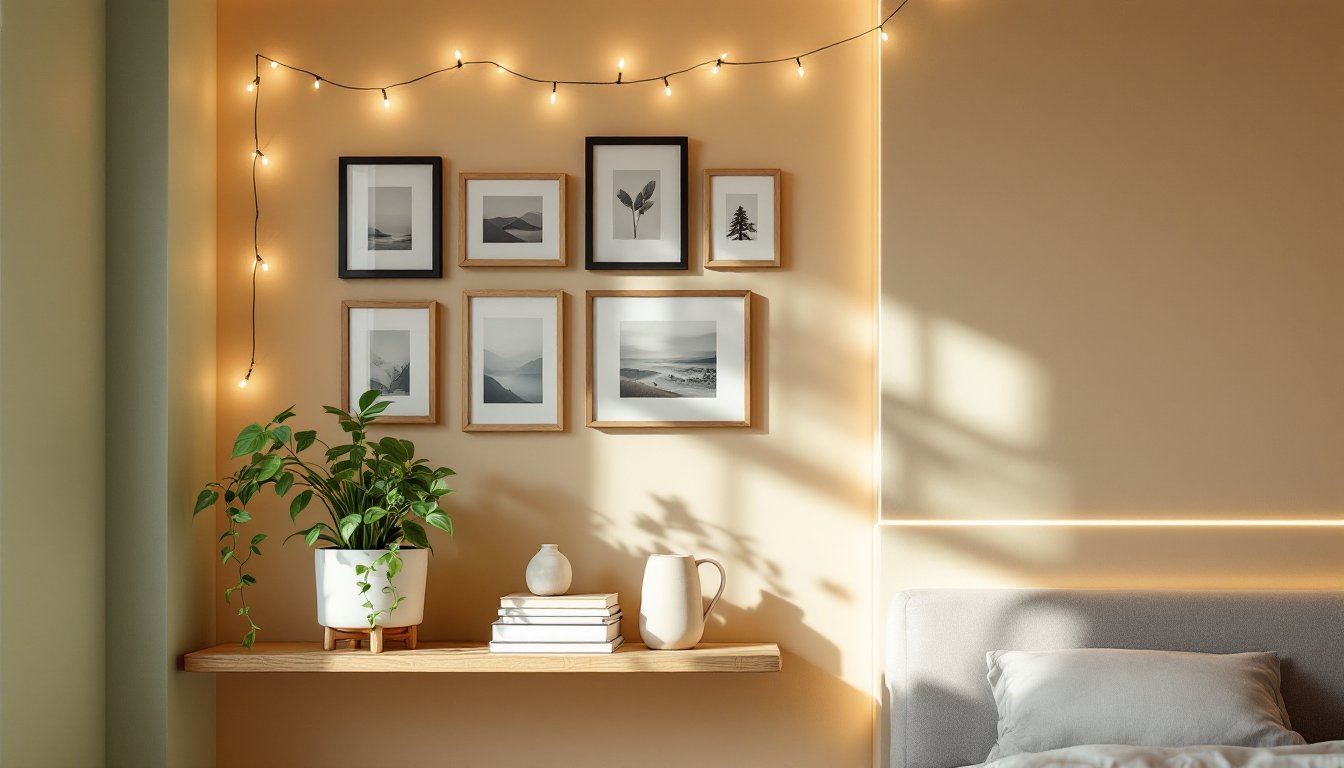
- DIY bedroom wall decor transforms spaces affordably with six practical methods—gallery walls, accent paint, floating shelves, textured coverings, string lights, and removable art—most costing $100–$300 total.
- Gallery walls and removable adhesive options work perfectly for renters, allowing personalization without permanent damage or lease violations.
- Proper surface preparation—cleaning, filling holes, priming, and using the right fasteners—is essential to prevent mistakes and ensure projects last.
- Accent walls and geometric designs deliver maximum visual impact in one weekend using basic painter’s tape and budget-friendly paint costing $30–$60.
- Floating shelves require mounting to wall studs for safety; combining shelves with layered lighting and grouped decor creates intentional, polished looks.
- Peel-and-stick wallpaper, washi tape, and LED string lights ($10–$30) add texture, pattern, and ambient mood without professional installation or electrician involvement.
Create a Gallery Wall with Personal Photos and Art
A gallery wall turns a blank expanse into a curated personal story, and it’s one of the most forgiving DIY projects. Start by gathering frames. They don’t need to match: a mix of sizes, finishes (black, white, natural wood), and frame styles actually looks more intentional than uniformity.
Plan the layout first. Lay all frames on the floor in the arrangement you want, then photograph it for reference. A common mistake is jumping straight to hammering: taking 10 minutes to plan prevents crooked holes and frustration.
For actual hanging:
- Find studs or use quality wall anchors (if using drywall, toggle bolts handle heavier frames better than plastic expansion anchors).
- Measure from the center outward. Mark the center of the wall, then work outward with a level and pencil.
- Use painter’s tape to outline frame positions before driving nails: it reduces mistakes.
- Hang frames at about 57 inches to the center of each piece, roughly eye level when standing.
For a removable option (renters: this is your friend), use adhesive picture hooks rated for the frame weight. They damage walls far less than nails and peel off cleanly.
Fill frames with personal photos, printed art, or a mix. Print photos at home using budget photo paper, or grab affordable prints from galleries like Unsplash or Pexels, many artists offer free, high-res images for personal use. The personal touch matters more than pristine framing.
Paint an Accent Wall or Geometric Design
A fresh coat of paint is the quickest bedroom transformation. An accent wall (painting one wall a bold or contrasting color) costs $30–$60 in paint and takes an afternoon. Geometric designs elevate it further without much extra effort.
Prep is non-negotiable. Clean the wall, fill holes with spackle, and sand smooth. Let spackle dry fully (check the product, typically 1–3 hours). Dust off residue with a tack cloth or damp rag. Apply primer if switching to a darker color or covering existing bold hues: it ensures even coverage and saves a second coat of expensive paint.
For choosing paint:
- Use satin or eggshell finish in bedrooms (not flat, which stains easily, or high-gloss, which feels industrial).
- Test colors on the wall first. Paint large swatches and live with them for a day, lighting changes throughout the day.
- One gallon covers roughly 350 square feet: measure wall area to confirm quantity.
For geometric designs, tape is your best friend. Use painter’s tape (NOT duct tape, it damages paint). Mark lines with a pencil and level first, then apply tape along the line. Press firmly at edges to prevent bleed-through. Paint the first color, let it dry fully (check drying time on the can), then apply tape for the next color.
Common patterns: stripes, chevron, or a simple color-block. Keep angles simple, 45-degree lines (diamond/chevron) and horizontal stripes are achievable without advanced math. A miter or angle finder helps with precision.
Hang Floating Shelves for Style and Storage
Floating shelves blend storage and decor. They’re visual anchors that break up wall space while holding books, plants, or decorative objects.
Mounting is critical. These shelves carry weight, and failure (wall damage, shelf drop, injury) happens when people skip finding studs. Always mount to studs when possible, they’re typically 16 inches or 24 inches apart and run vertically from floor to ceiling. Use a stud finder (magnetic or electronic: electronic is more reliable). Mark studs with painter’s tape.
For installation:
- Hold the shelf at eye level (roughly 48–60 inches from the floor for a bedroom), then mark the bracket positions.
- Use a level to confirm shelf is plumb (not tilted).
- Drill pilot holes (slightly smaller than your fastener) to prevent wood splitting.
- Secure with lag bolts or wood screws rated for the shelf weight and stud spacing.
- Leave 12–18 inches between shelves for visual breathing room and to display objects.
If studs aren’t positioned right, use heavy-duty toggle anchors or French cleat systems, these distribute weight across drywall better than basic plastic anchors, though they’re slightly more expensive ($3–$8 per fastener).
Styling the shelves matters. Group items in threes, vary heights and textures, and don’t overcrowd. A plant, a stack of books, and a small decorative object per shelf looks intentional without clutter.
Add Textured Wall Coverings with Fabric or Wallpaper
Textured finishes, wallpaper, fabric, or peel-and-stick wall panels, add depth that paint alone can’t. Modern peel-and-stick wallpaper is a game-changer for renters: traditional wallpaper requires paste and removal can be tricky.
Peel-and-stick wallpaper comes in rolls, sticks without adhesive mess, and peels off without damage. Cost ranges from $15–$40 per roll depending on design. Prep is simple: clean the wall with a damp cloth, let it dry completely, then smooth the paper on, working out air bubbles with a plastic squeegee or credit card.
For traditional wallpaper:
- Size the wall (apply a primer-like base coat that helps paste adhere evenly).
- Mix and apply wallpaper paste per package instructions.
- Hang strips vertically, using a level to keep edges plumb.
- Smooth out bubbles with a smoothing tool or brush.
- Trim excess with a sharp utility knife and straightedge.
Less common but striking: fabric wall covering. Staple lightweight fabric to a wood frame behind the wall (requires removing trim), or use spray adhesive to mount stretched fabric directly. This absorbs sound and adds luxury texture for under $50 in materials.
Accent one wall or a large section to avoid overwhelming the space. Patterns work in bedrooms: they’re personal spaces. Solids offer calm: choose what matches the room’s purpose and the sleeper’s preferences.
Use String Lights and LED Strips for Ambient Lighting
Lighting transforms mood instantly. String lights and LED strips cost $10–$30, run on battery or USB power (no electrician needed), and create warmth that overhead fixtures don’t.
String lights (fairy lights, bistro strings) work best draped above a headboard or along a shelf. Run them through picture frames for a soft glow. Warm white (2700K color temperature) feels cozier than cool white (4000K+). Avoid cheap lights, they yellow quickly and burn out in months. Mid-range LED strings ($15–$25) last 25,000+ hours.
LED strip lights (adhesive-backed, flexible strips) outline shelves, line baseboards, or run under a bed frame for a modern vibe. They come dimmable and in RGB (color-changing) versions, though warm white is most flattering in bedrooms. Mount them after cleaning the wall or furniture with rubbing alcohol: adhesive needs a clean surface to grip properly.
Safety and setup:
- Use battery-powered or USB-powered options: avoid running extension cords across the floor (tripping hazard).
- Check power specs, some require a power adapter or controller. Confirm the wall outlet is nearby or use a rechargeable battery pack.
- Position lights away from flammable materials (curtains, bedding).
- Mount securely so lights don’t sag or fall.
Avoid overlighting. Bedrooms benefit from layered lighting, overhead for function, accent lights for mood. String lights alone won’t illuminate a whole room: pair them with a bedside lamp or dimmer switch.
Display Wall Art with Washi Tape and Removable Adhesive
For renters or commitment-phobes, washi tape and removable adhesive are MVPs. Both create gallery-like displays without permanent damage.
Washi tape (colored, patterned fabric tape) frames prints, outlines shelves, or creates geometric patterns. It costs $1–$3 per roll and peels off cleanly. Use it to:
- Frame a poster by taping a border around it.
- Create a geometric wall design (tape straight lines, fill sections with paint or string lights).
- Outline a floating shelf’s edges for a finished look.
Removable adhesive products like Command strips or similar come in various weight ratings, confirm the strip rating matches your item’s weight. A poster typically weighs 1–2 ounces: use a 1–2 pound strip. Heavier frames (over 5 pounds) need toggle anchors, not adhesive strips.
Tips for success:
- Clean the wall with rubbing alcohol and let dry, adhesive won’t stick to dust or oils.
- Leave the adhesive strip on for 24 hours before hanging the item (it sets better).
- Remove by pulling the tab slowly downward at a 180-degree angle, not straight out.
- Peel the backing off the wall gently afterward, rushing damages drywall.
This approach works beautifully for rotating art seasonally or if someone moves frequently. Swapping prints every few months keeps the room fresh without re-painting or re-wallpapering.
Conclusion
Transforming bedroom walls doesn’t demand skill, permits, or a big budget. A mix of paint, shelves, lighting, and wall art creates a personalized retreat for $100–$300. Start with one project, an accent wall or gallery wall takes a weekend, then layer in others. The goal isn’t magazine-perfect: it’s a room that reflects the person sleeping in it. Plan thoughtfully, prep surfaces well, and use the right fasteners for the job. A well-executed DIY bedroom becomes a space worth spending time in.